The reason why we decided it would be a good idea to incorporate snow effects into our animation is because:
- It shows varying uses of different tools and techniques.
- We have incorporated smoke and fire effects into the building which realistically, would only be in effect during the Winter. To make the animation more realistic, we felt it would be appropriate to work changing seasons, with Winter being signified as snow.
Blizzard Tool
Snow Tool
The Blizzard tool is more appropriate for scenes which have fewer polygons on the rest of the animation because many polygons need to be created in order to make it look realistic. The main issue I discovered is that it did not seem to fall as realistically as normal snow because snow seems to be moving faster towards the front of the scene and slower towards the back.
The Snow tool looked more realstic, however in the video above, I did not include enough polygons to fall.
The video below is a 30 second render of the snow with more polygons and reflects similarly to what will be appearing in our final render:
The image below shows the snow imported into the main .max file:

As you can see, the amount of snow produced is ideal, however due to the external lighting, some snowflakes appear to be black. This can easily be corrected by modifying the environment lighting to make it more suitable.
The video below shows my snow incorporated into one of the camera scenes from our actual finished result. It has been combined with another group members use of deflectors to make the snow stay on the roof:
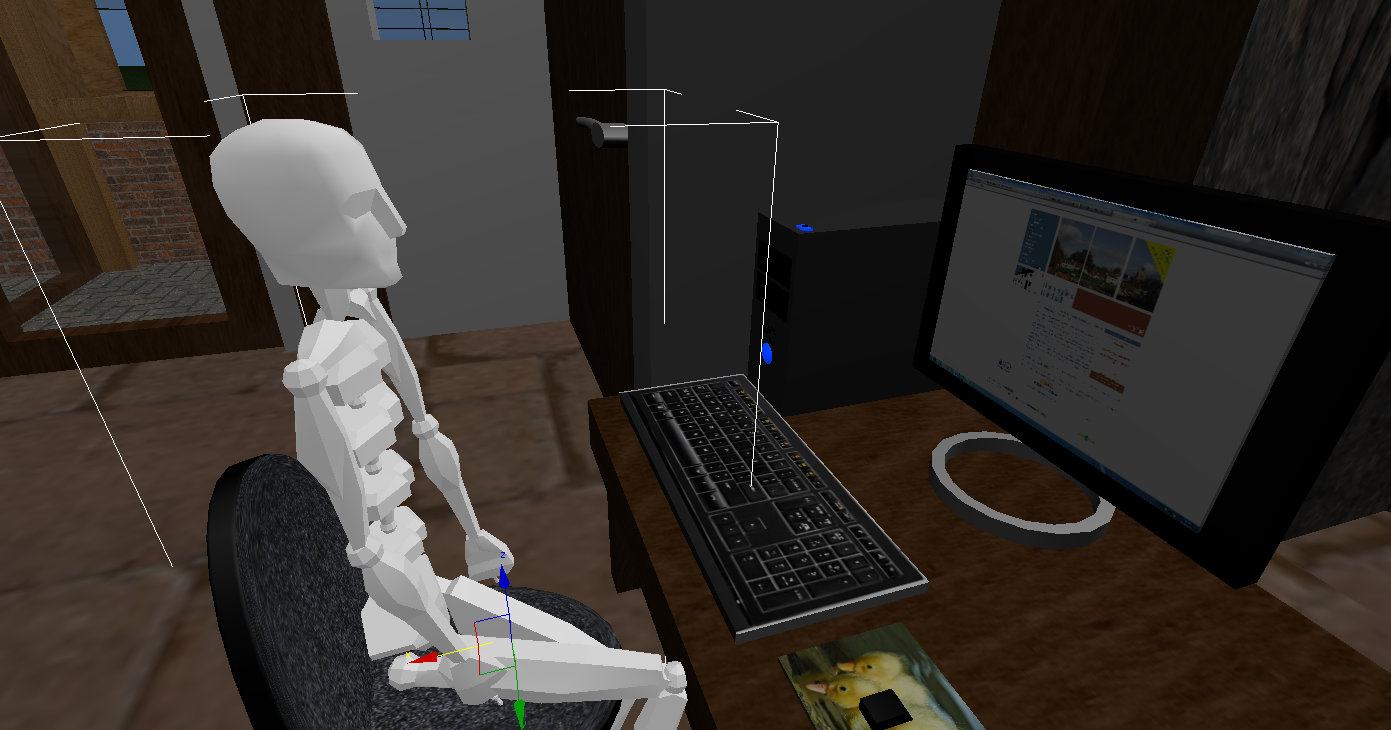
Biped moving:
Although it was a setback that my original biped with the mesh attached could not be used, by not redoing them and opting to just use a simple biped instead. Although all bipeds were initially animated, due to the length of time it took to render my scenes, I had to regretfully remove the animations on the following bipeds:
The first biped positioned was the cashier in the Guildhall shop:

The second biped created was the customer and in the image below, you can see the customer buying merchandise and handing it over to the cashier so it can be scanned and paid for.This is to demonstrate how people can use the Guildhall shop.

The third biped shows how the touch screens in the museum work.

The fourth and fifth biped show a friendly couple looking at the artifacts to demonstrate that the Guildhall is appropriate for everyone to enjoy.


I created a smaller child biped which I animated in order to keep the render length as low as possible, as proof that I know how to animate bipeds successfully.


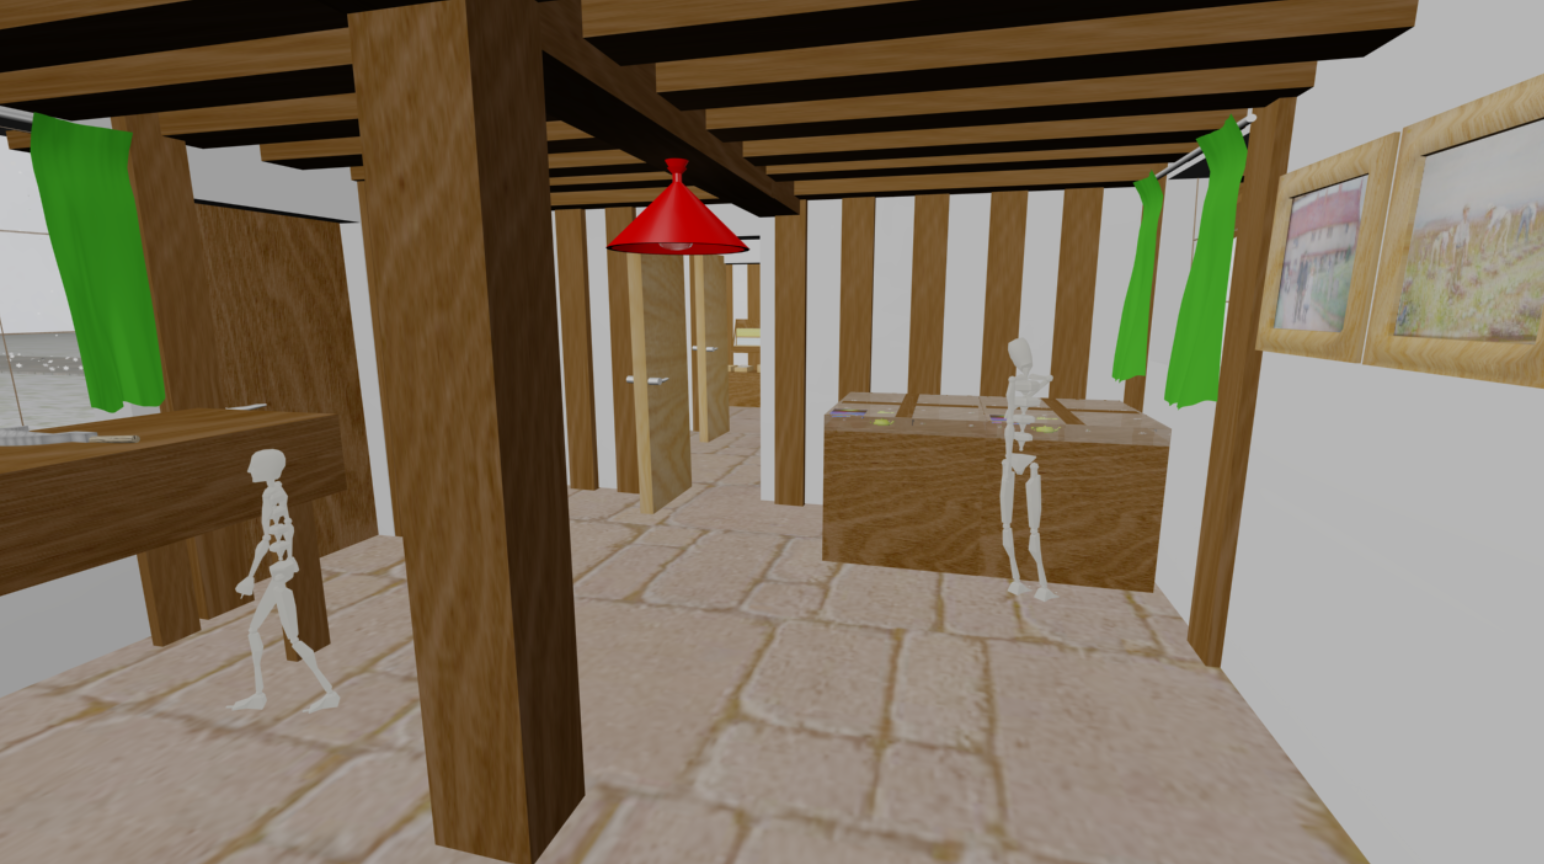
The bipeds have been concentrated on the lower part of the building. This is because the lower part of the building will be utilised the most and the majority of our animation will be centered around the library, the museum and the Guildhall shop.
Fire Effect:
For some reason, the video will not upload onto the blog so here is a screen shot:

No comments:
Post a Comment