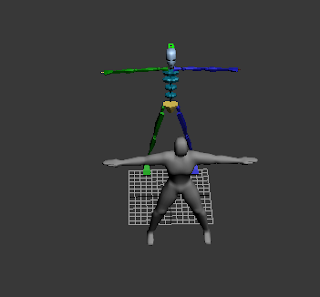
The first thing I did was create and TurboSmooth the mesh of a human. The next step was to create a biped that was approximately the same size as the mesh I had created (see image below):
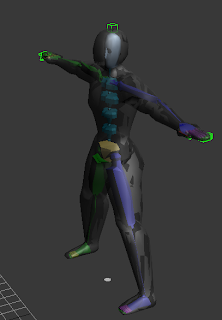
I moved the biped into the centre of the mesh and I increased the size of the bones so that the skeleton fills up the majority of the mesh, giving the most realistic human movement. It does not matter if the biped extends outside the mesh slightly because in the final render, the biped will not be visible. It is merely just to recreate human movement. In order to make the process easier, I made the mesh see-through and froze it into position. That way, the mesh cannot be selected. The image below shows the biped correctly positioned inside the mesh:
A skin had to be enveloped around the biped and mesh so that the two worked together as one object. Now, when the mesh moves, the biped moves too, creating realistic movements. I applied a black finish to the silhouette and it is now ready to be animated and utilised in the Guildhall animation.
Merging into the Guildhall Main Building file issues
When the biped was merged into the main building .max file, it was far too large and needed to be scaled down. Once a biped has been connected to a mesh, it cannot be simply resized like other objects. Therefore, it had to be scaled down. The image below shows how tall the biped would have to be in order to look more human sized.
However, after I had entered the biped and mesh properties and scaled it, parts of the biped did not function anymore, rendering the model useless. Due to time constraints, I did not have time to create a new mesh so I just used a simple biped with a bone texture to make them look like skeletons:
-------------------------------------------------------------------------------------------------------------------
References
Filter Forge
2011
Bone texture for biped
Available online at: http://www.filterforge.com/filters/414.html
Last Accessed: 19/12/2011
YouTube
2011
YouTube video to show biped rigging and how to fit a biped inside a rigid mesh
Available online at: http://www.youtube.com/watch?v=si4N6IdlJq8
Last Updated: 19/02/2008
Last Accessed: 19/12/2011


No comments:
Post a Comment